how and why i hosted this site on a raspberry pi
2026-04-18
· back home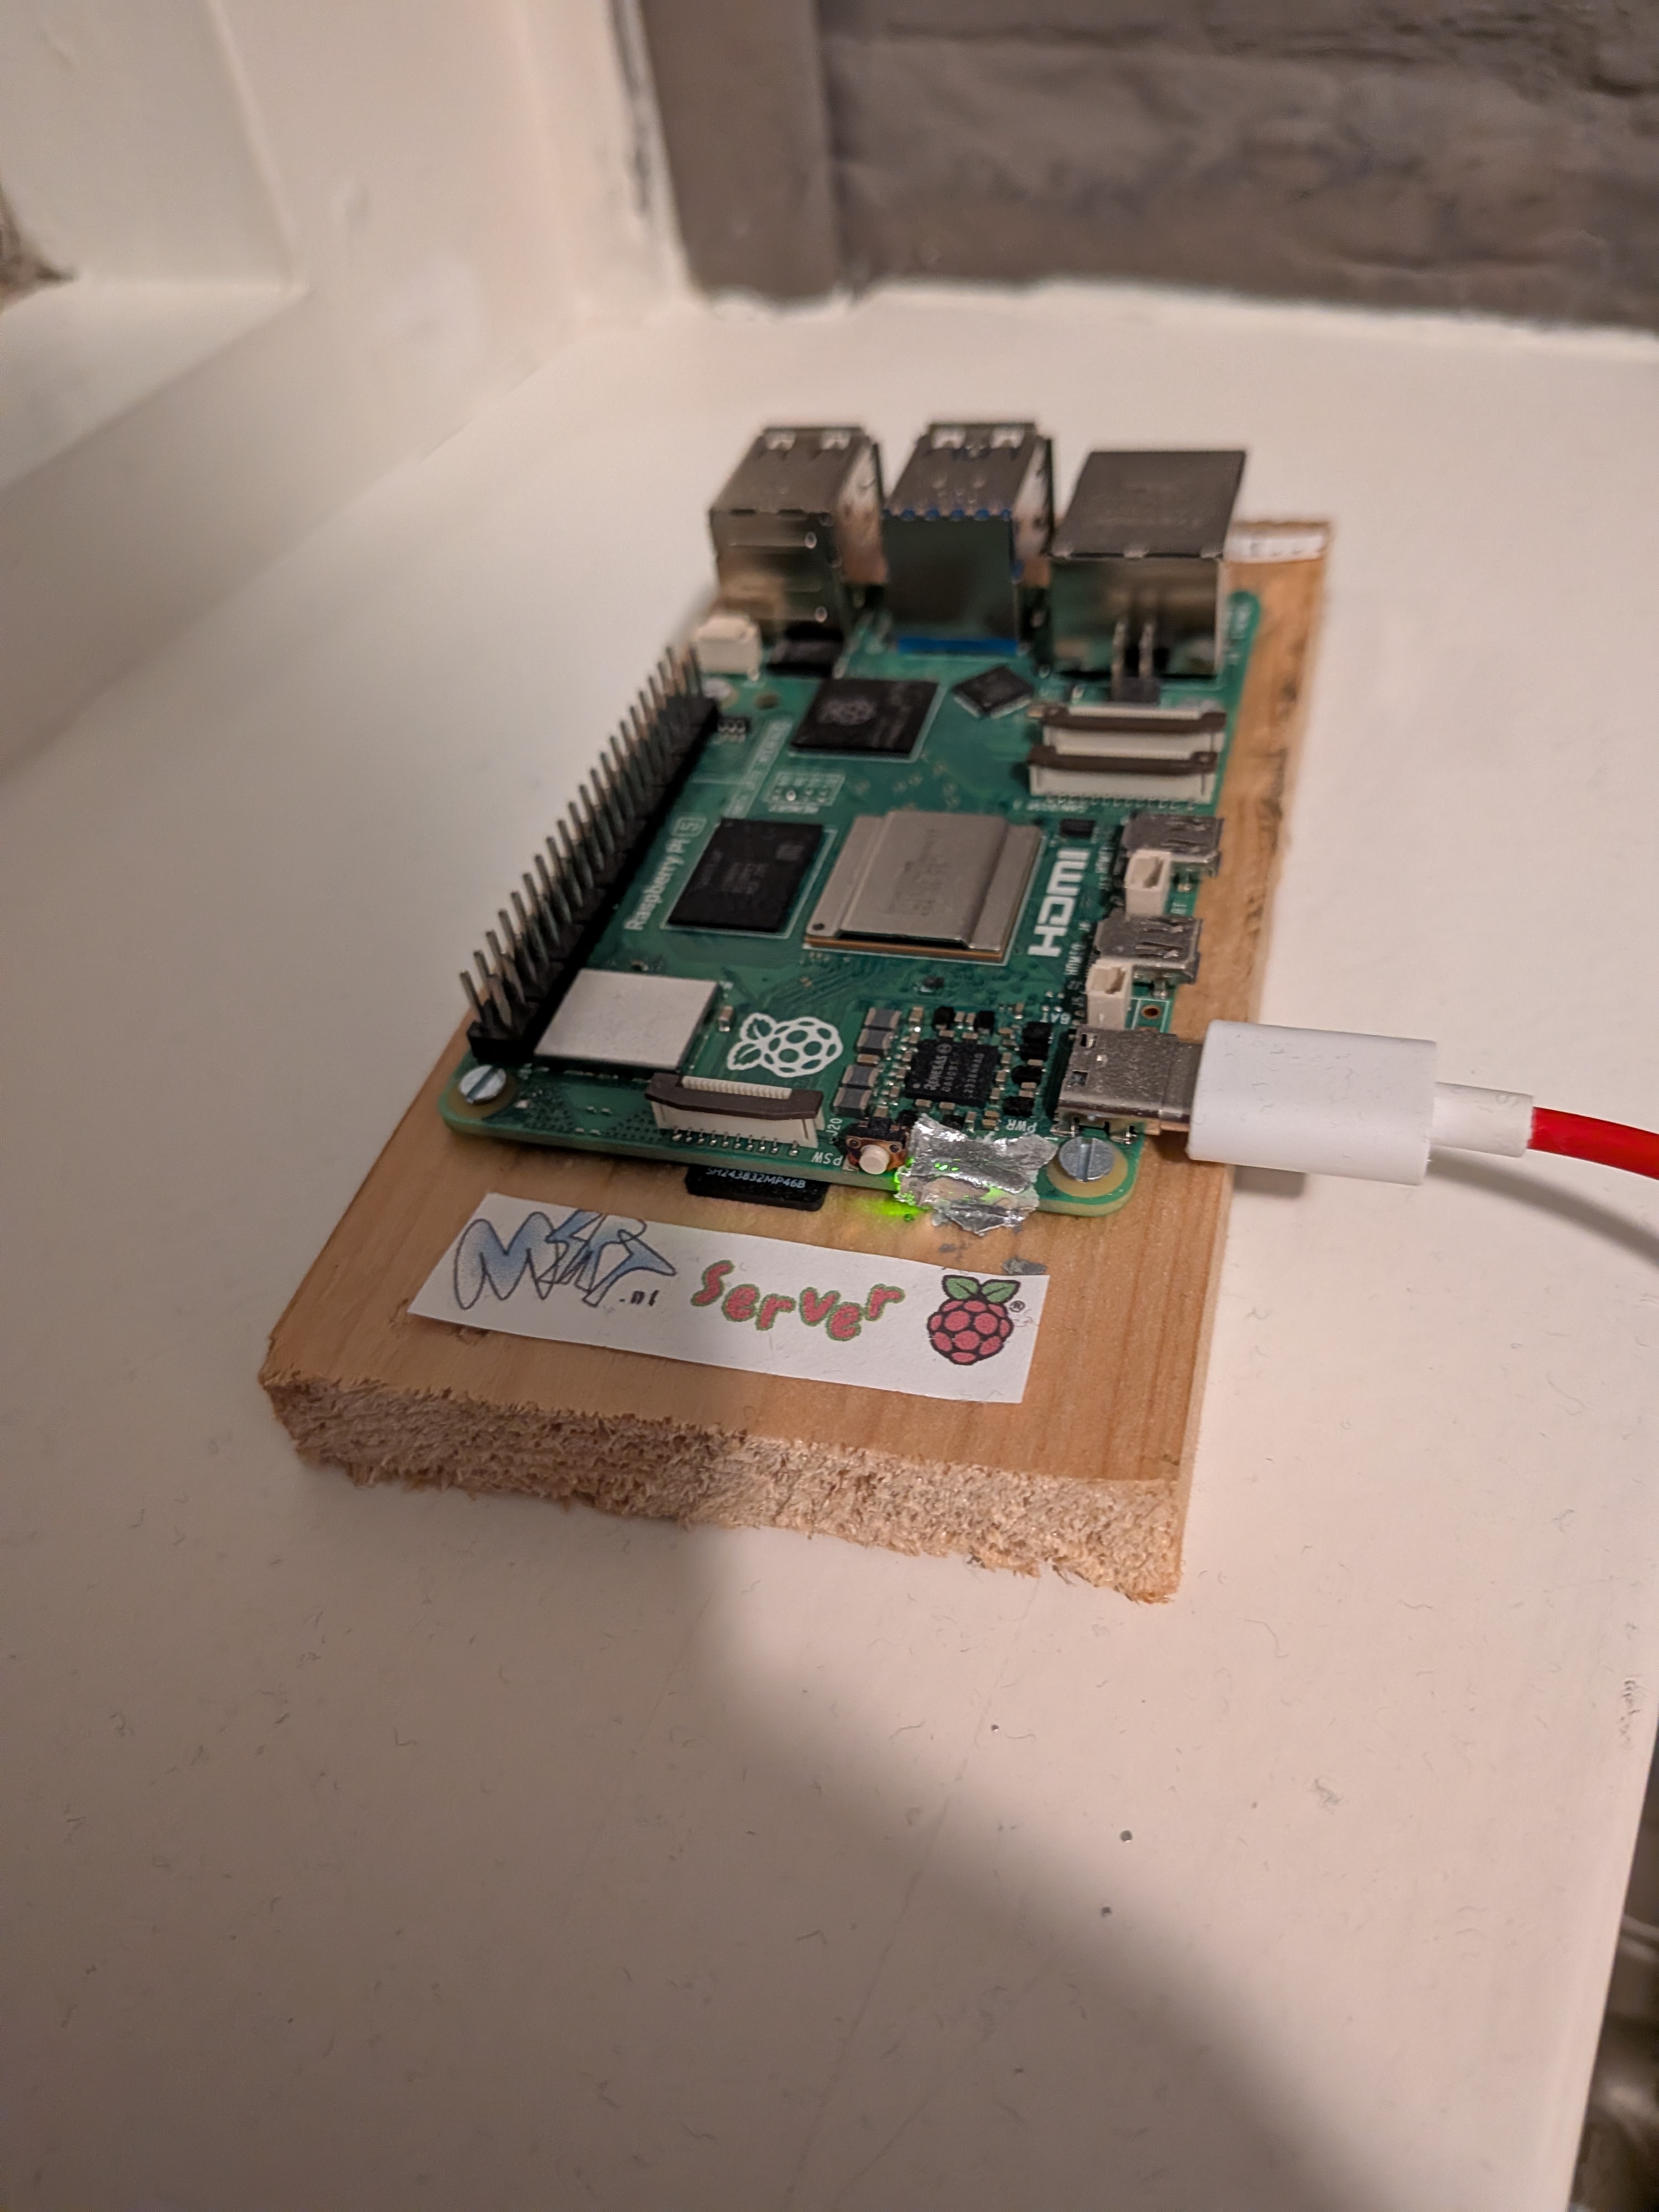
i just so happened to have bought a domain and had a spare pi laying around. so i started making a website. having played around with astro and svelte before, i find myself hesitating between the two. i finally settled with astro, and i have no regrets. i could write another blog post about just how nice astro is for simple websites, but that’s something for (maybe?) later.
but mart, you may ask. why a raspberry pi when it is literally a static website? what on earth do you need a pi for? well. turns out there was a specific library that didn’t work with vercel and was in fact dynamic instead of static. that was on another website i built before this (also hosted on this subdomain and the raspberry pi) and the library (used for i18n) was quite nice, despite being unmaintained.
so here we are. but how does it work? please note this isn’t an exhaustive guide, but rather your point of reference to start selfhosting your own websites that are built with a node.js framework.
step 1: the port forwarding
first of all, you need to make sure your router’s settings to forward your IP address to that of your raspberry pi! google it, there are a lot of tutorials on this! it differs per router so it’s a good idea to check how it works for your specific one.
next, you’ll need to git pull your repository to the machine.
then, install caddy and add this to your caddyfile (or something similar).
m4rt.nl {
        root * /home/mart/Documents/m4rt.nl # change this to the actual root of your website

        file_server
        reverse_proxy localhost:4321 # 4321 for Astro, 5173 for Svelte/kit, 3000 for React
}
make sure to reload your caddyfile. for details on how to set this up, you can consult google!
step 2: configure DNS
once you’ve bought a domain, go to your provider and add a new record:
A - yoursite.com - public IP address of your routeryour router will now automatically reroute the incoming traffic to its ip address to your website!
step 3: build & serve your website
you now need to package your website into a javascript file! this works almost always the same by just running npm run build (or your preferred package manager). now, this creates a directory called dist or out or something similar. open this directory and look for an entrypoint file. it’s usually called entry.cjs or entry.mjs.
once you’ve done that, install pm2! pm2 is a service that lets you run node.js apps until you tell it to stop! you can install it with a simple command: npm i -g pm2.
now, cd into your dist directory and run pm2 run entry.mjs!
that’s it, your website should now be live :) yay!
step 4: advanced ci
you probably noticed something’s off here compared to vercel: what if you commit something? your website won’t build! luckily we have something called github actions for this.
for this, you want to make a new directory called .github and inside it, a directory called workflows. create a file in here and call it something like update_server.yml but you can name it whatever you want.
add the following in it:
name: Update server code and restart the server
on: [push]
jobs:
  build:
    name: Build
    runs-on: ubuntu-latest
    steps:
      - name: Update server code and restart the server
        uses: appleboy/ssh-action@v1
        with:
          host: ${{ secrets.HOST }}
          username: your-username # this is the username of your sudo user on your raspberry pi!
          password: ${{ secrets.PASSWORD }}
          script: |
            ~/bin/pull-all.sh
now, go into your repository settings and go to actions secrets:
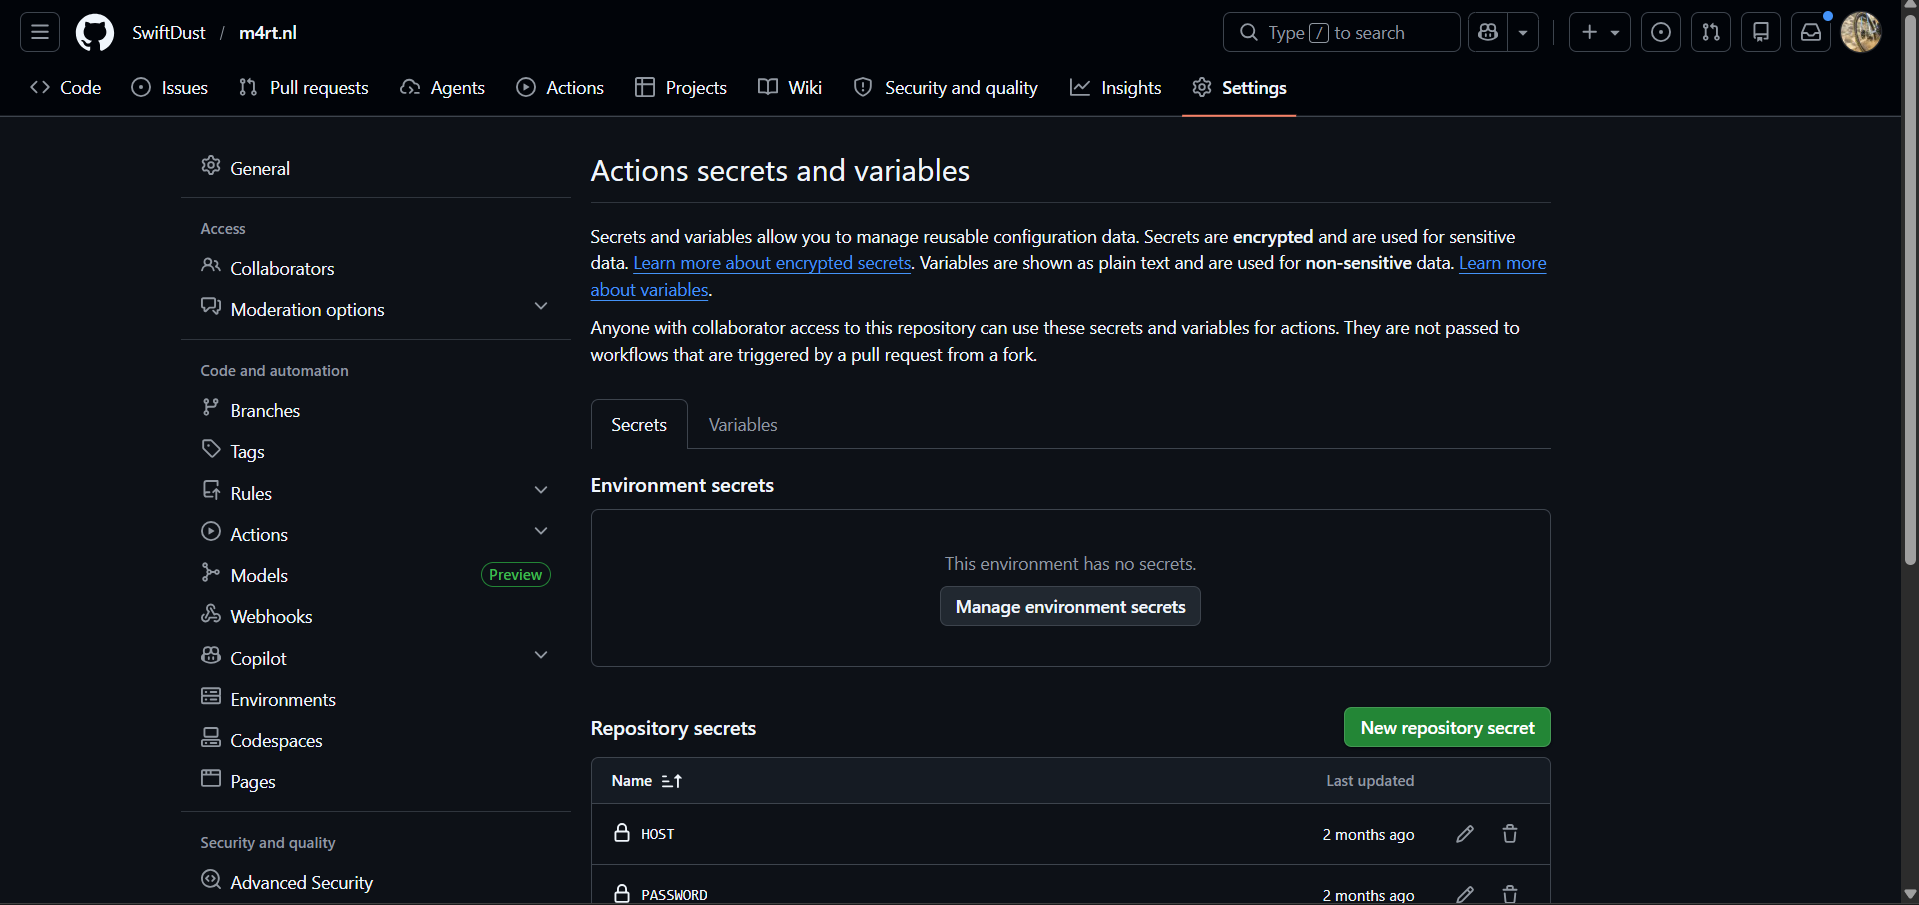
click on new secrets, and add a secret called HOST with your host IP of your raspberry pi and PASSWORD.
then, create a script in bin, i called mine pull-all.sh and put the following in it:
#!/usr/bin/env bash
set -euo pipefail

BASE_DIR="$HOME/Documents" # change this to the one you use often

# these are the ports i'm using for my two websites, change accordingly. it's best to set this manually as Linux also uses some ports to run system software and you do not want to overwrite this.
PORTS=(4321 4322)
PORT_COUNT=${#PORTS[@]}
PORT_INDEX=0

echo "updating git repositories..."

# this checks if a directory is a repository and pulls the latest changes
for dir in "$BASE_DIR"/*/ ; do
    if [[ -d "$dir/.git" ]]; then
        echo "→ Entering $dir"
        ( cd "$dir" && git pull )
    fi
done

echo -e "building websites with assigned ports..."

for dir in "$BASE_DIR"/*/ ; do
    # checks if it's a node.js project, if you use Deno you might need to change this
    if [[ -f "$dir/package.json" ]]; then
        CURRENT_PORT=${PORTS[$PORT_INDEX]}

        echo "building in $dir using PORT: $CURRENT_PORT"

        (
            cd "$dir"
            npm run build -- --port "$CURRENT_PORT"
        )

        PORT_INDEX=$(( (PORT_INDEX + 1) % PORT_COUNT ))
    fi
done

echo -e "restarting pm2..."
pm2 restart all
that’s it! thanks for reading and have a nice day.
mart out